
The Foldr appliance will run a configuration wizard when it first boots, this allows you to change the administrative password, configure network settings, apply static routes and set time specific settings.
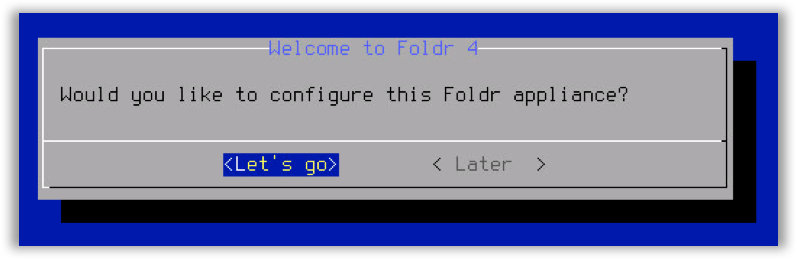
Select ‘Let’s Go’ and follow the onscreen prompts.
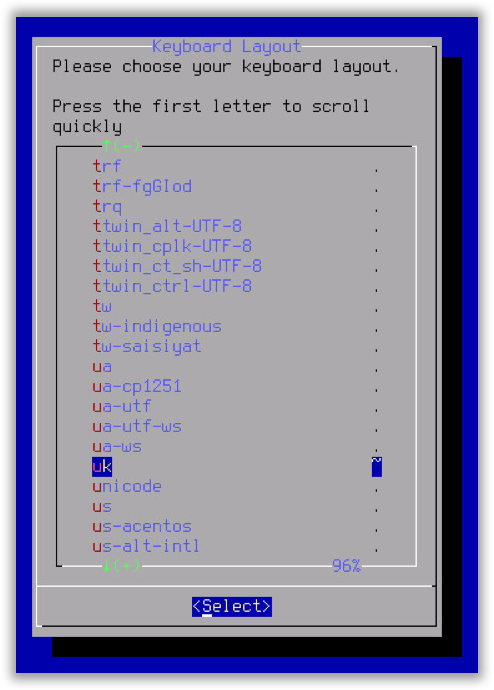
Configure Keyboard Layout
Select the relevant keyboard layout for your region.
Change Administrative Password
Change the fadmin account administrative password:
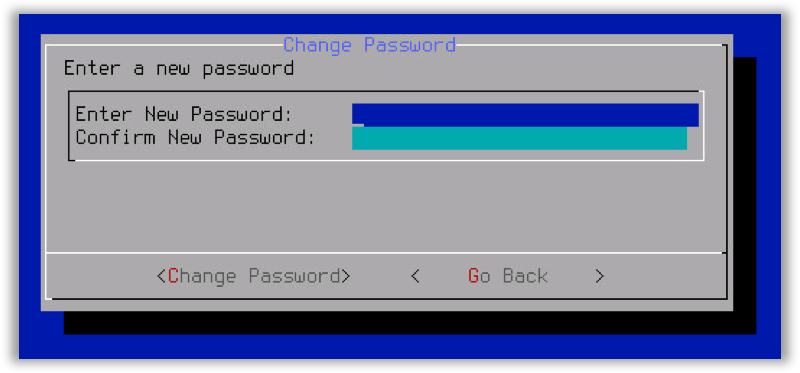
Use the down arrow key to drop down to ‘Confirm New Password’
Configure Network Settings
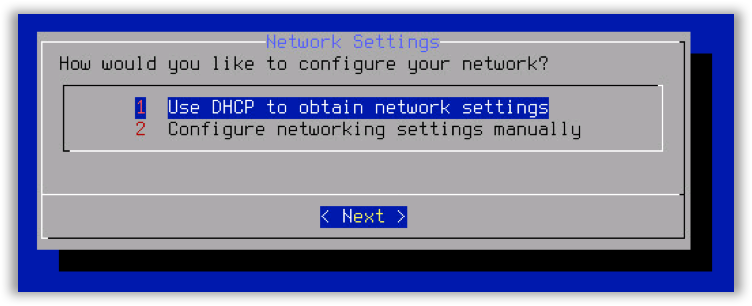
Select option 2 if you would like to configure a static network configuration rather than DHCP (static configuration is always recommended)
Example settings are shown below, note the hostname is configured fully qualified and set to the internal domain.
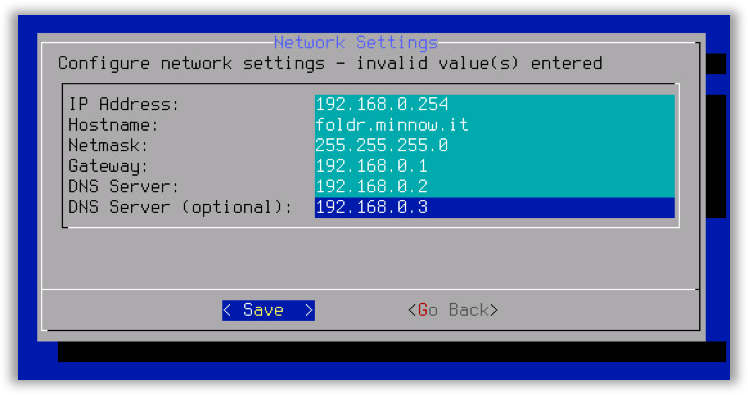
Click Save to confirm and apply the configuration.
Configure Static Routes
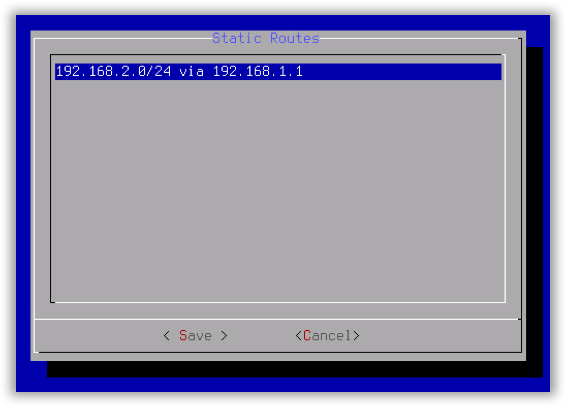
Note the correct format to enter static routes is shown as an example:
192.168.2.0/24 via 192.168.1.1
If you require an appliance using more than one virtual network interface, please contact support (support@foldr.io).
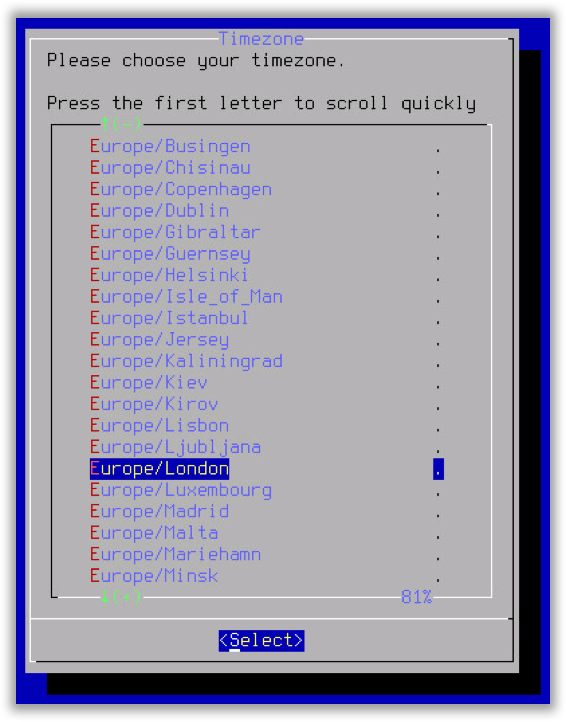
Set the Timezone (default is UTC)
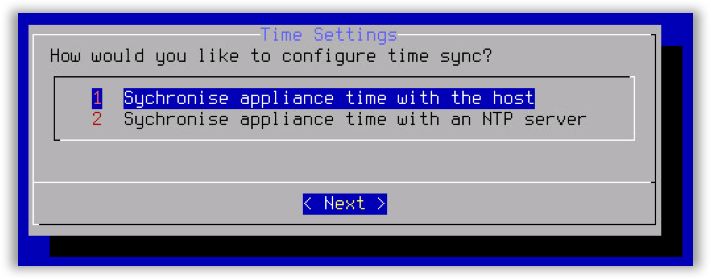
If NTP is selected, multiple entries can be configured separated by a space. Typically, you would point this at your ISP-provided NTP server or domain controller IP address.
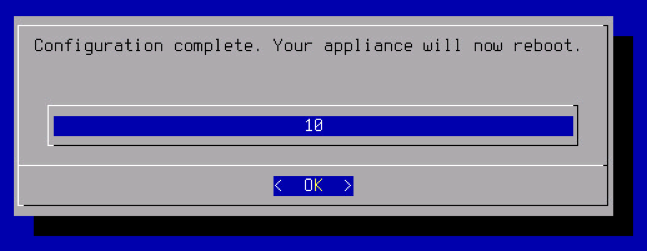
Once you have completed the wizard you will be prompted to restart the appliance, press enter / click OK and the system will restart:
Once the system has restarted you will be presented with the main system login screen.
The system’s IP address will be shown at the top of the console screen.
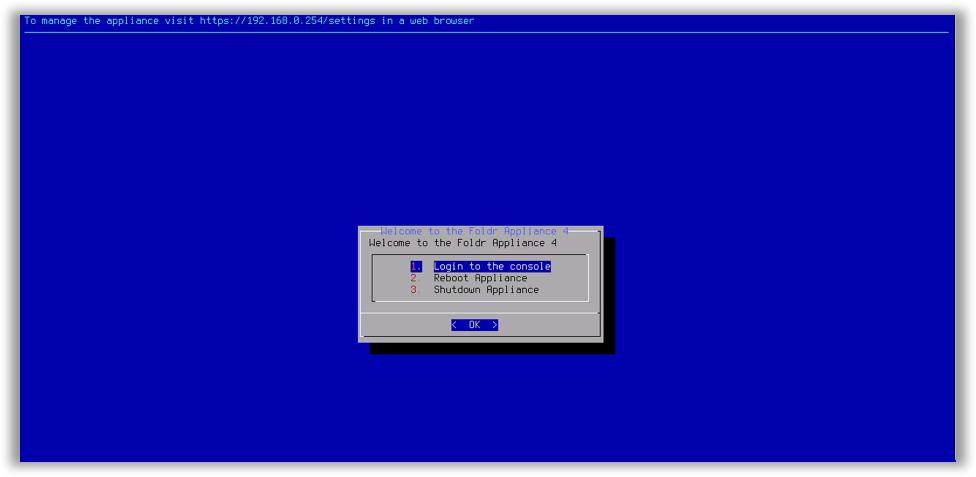

You can now browse to the URL shown above to configure the system.